TeamSpeak is an advanced VoIP application for audio communication over the internet and is available on both desktop and phone. Though TeamSpeak is mainly targeted at gamers, it also makes a good option for conference calls. If you are wondering how to record TeamSpeak in an easy & fast way, read on to get the answers.
WonderFox HD Video Converter Factory Pro makes the easiest audio recorder for Windows. It offers a dedicated audio recording mode and enables users to capture any audio from their computer in clicks, including audio from your mic and sounds from the computer. You can record the voice chat with friends on TeamSpeak in high quality and then save it in MP3, WAV, AAC, and AC3 format. Besides, this featured-packed recording program comes with a set of tools for trimming, merging, converting, compressing, etc.
Next, let’s learn how to record TeamSpeak with this handy tool. Free downloadFree download and install it on your PC first.
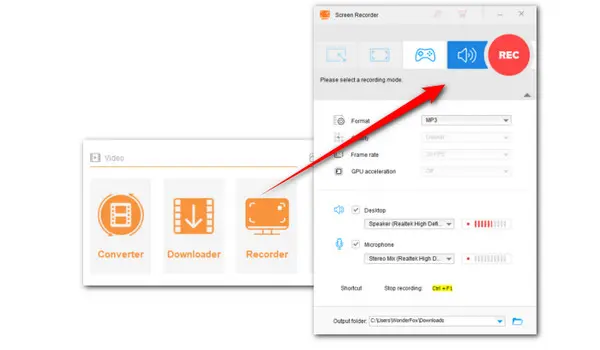
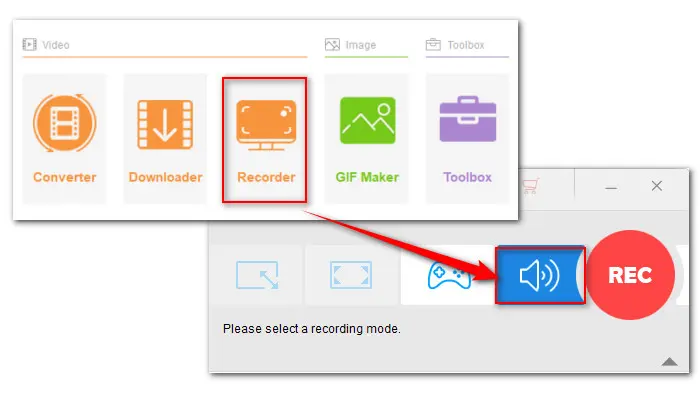
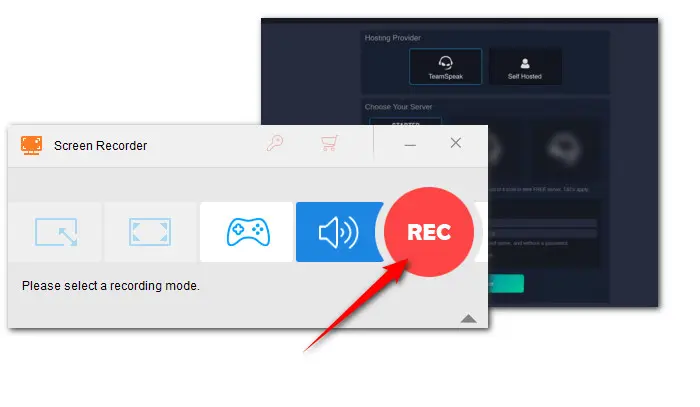
Launch HD Video Converter Factory Pro and open the Recorder. At the top of the Recorder window, click on the speaker icon to initiate the Audio-only recording mode.

Then choose an audio format from the Format drop-down options according to your preference.

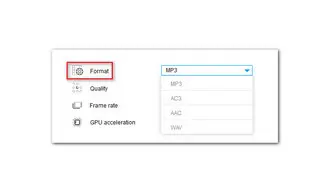
(Tip: MP3 and WAV are the most popular formats of compressed and uncompressed digital audio files, respectively. MP3 is highly recommended for its wider compatibility and reasonable file size. And it is good practice to record voiceovers and podcasts in WAV as this uncompressed format contains all the original audio information and offers objectively better audio quality.)
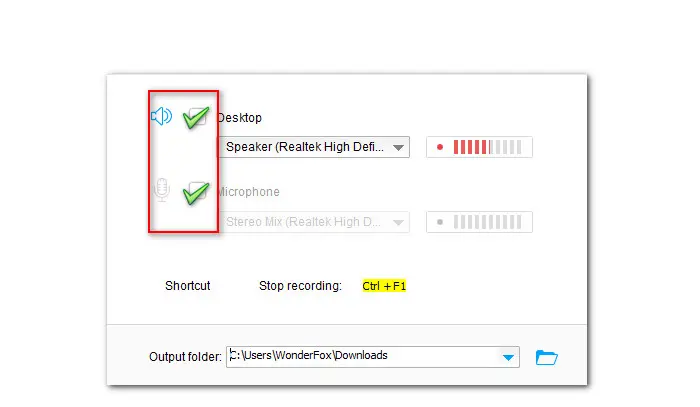
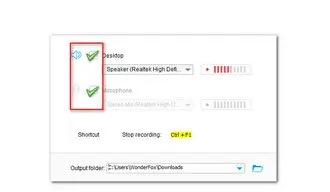
Check the audio source. Tick off both the Desktop and Microphone to record audio from the computer and mic simultaneously.
Next, set an output folder or just leave it as default.
Then press the red REC button to start recording after the five-second countdown. The recording software will minimize and run in the background without hassling other applications.
When you’re done, simply press Ctrl + F1 to end the recording.
Also Read: Record Zoom Audio | 5 Best Voice Recorders | Screen Record with Mic
Audacity is one of the most popular audio recording software in the market. Apart from running on MacOS devices, users can also get this open-source audio recording and editing program on Windows and Linux for free.
With Audacity, you can capture the sound from a microphone or computer playback, choose to record in mono or stereo, and even control the volume while you are recording. After recording, you can remove the unwanted part of an audio file, split the audio into clips, trim, apply effects, etc.
Next, we’ll present to you how to record audio from TeamSpeak on Mac using Audacity.
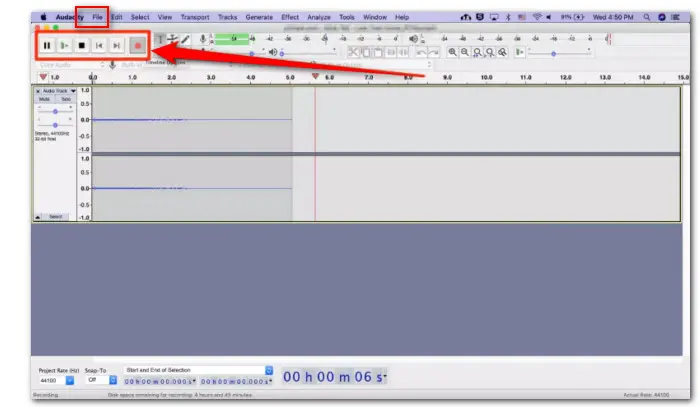
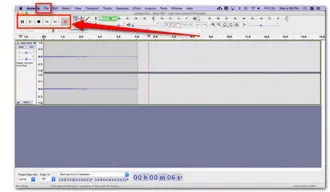
Step 1. Download and install Audacity on your Mac. Then open it and click Transport on the upper part of the app. Hit the Record button or simply hit the red button on the Transport Toolbar dock area.
Step 2. Below the record button, you can select an audio source before recording.
Step 3. After capturing your needed audio, press the stop button. Then go to File > Export to save the recorded audio in MP3, WAV, OGG, etc.
That’s all about how to record the voice chat in TeamSpeak. Sincerely hope this post can be helpful. Besides, both TeamSpeak recorders recommended above are easy to use. No prior experience is required.
Thanks for reading till the end. Have a nice day!
Terms and Conditions | Privacy Policy | License Agreement | Copyright © 2009-2025 WonderFox Soft, Inc.All Rights Reserved