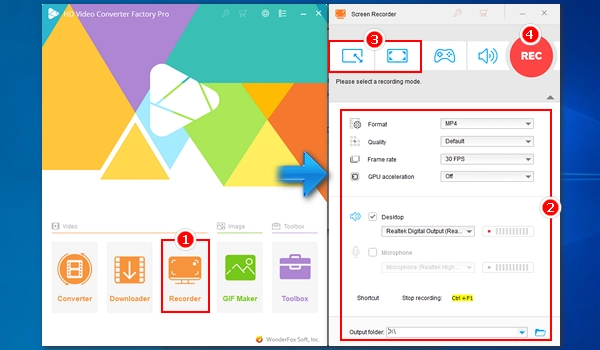
Whether you are to make a video presentation or to save an amazing streaming video you saw, a video recording program will come in handy. But don’t panic if you are just getting started with video recording, because this article has got you covered. Just read on and learn how to record a video on Windows 10 in the best way.
While many programs can capture screen video on Windows 10, to record video without limitations, WonderFox HD Video Converter Factory Pro is the most recommended. This comprehensive application is one of the best video recorders for Windows 10 that can record high-quality video (with sound) on your screen. As a versatile screen video grabber, it provides different recording modes, formats, frame rates and qualities, and you can record an MP4 video up to 4K, 60fps on Windows 10. Plus, it offers a set of editing tools to optimize recorded videos by trimming, cropping, rotating, merging and adding logos. It also helps to compress and convert recordings to YouTube format if you want to upload them to YouTube.
Without further ado, let me show you how to capture screen video on Windows 10 using this software.
* Please free download free download the video recorder to your Windows 10 first.
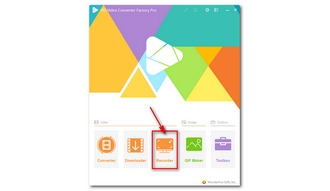
Launch WonderFox HD Video Converter Factory Pro and open the “Recorder” program.

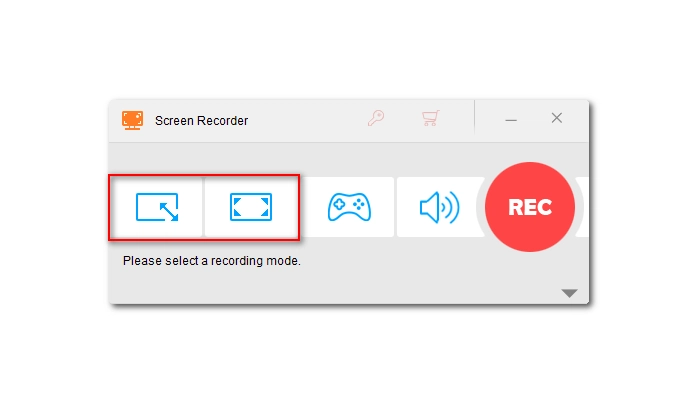
Now, from the top four recording modes, you can select the first option to customize a recording area or choose the second Full-screen mode to capture the full screen. If you want toscreen record video in high quality, you are recommended to maximize the window you want to record and use the full-screen mode.
There are multiple formats, quality, frame rates, etc. to choose from for your recording. Just go to the Settings below and pick your desired value for these options. Recommended settings - MP4, High Quality, 30 FPS, GPU Acceleration On.
To record video on Windows 10 with sound, you need to ensure the audio source is selected. You can choose “Desktop” to capture the system sound or “Microphone” to record your voice or select both to record computer audio and mic together.
At the bottom of the recorder, specify an output folder for your recordings in advance.


When everything is ready, click the big red “REC” button to record your video on Windows 10. The recording will start after a five-second countdown, and the recorder will minimize to the top of your screen. When the recording is complete, click the Stop icon or press hotkeys “Ctrl + F1” to stop the recording. The recorded file will automatically pop up in the folder you just set.
Hot Search: Record Streaming TV on PC | Record YouTube Live Stream | Record Video from Website


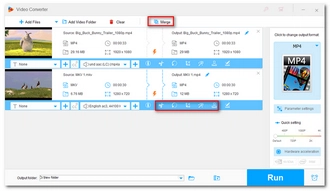
This software also comes with a video recorder editor. If you are not satisfied with the video recordings, you can import the recordings to the “Converter” module and edit the files there. It gives you access to an array of editing options to crop the video recording, cut the unnecessary parts, merge recordings into one, and do more with your video. Just download download the software to complete your work!

The built-in video recorder Xbox Game Bar can also record video on laptop Windows 10. It is primarily designed to record PC games but can be used to record screen videos within an application too. Here is how you can capture video on Windows 10 with Game Bar.
Step 1. Press the shortcut “Win + G” to bring up the Game Bar controls.
Tips. If you haven’t enabled Game Bar, go to the Start menu > Settings > Gaming, then turn on the Game Bar.
Step 2. To include system audio during video recording, go to “Settings” and navigate to “Capturing”, then select “All” for AUDIO TO RECORD.
Step 3. Now, go to the app you want to record your video.
Step 4. Press "Windows + Alt + R" to start recording a video clip.
Step 5. Press "Windows + Alt + R" again to stop the recording. The recorded video will be saved to the “Videos > Captures” folder as an MP4 file. The maximum quality you can get is 1080P.
Note. Game Bar cannot record File Explorer and Desktop. It allows a maximum of 30 minutes of recording when the background recording is turned on.


If you want to record video from your webcam, you can also use the native app Camera that comes with Windows 10 to do it easily. The Camera app can take not only photos but also videos with microphone audio. Here are the steps to take a video in Windows 10 using Webcam:
Note. Using the Camera app requires world facing camera supporting 1080p or greater resolution.
Step 1. Type “Camera” in your Windows search bar and open the Camera app.
Note. If it is your first time using Camera, allow the application to use your webcam, microphone, and location so it can work properly.
Step 2. On the left sidebar of the app, you can modify the recording settings and adjust the focus and brightness.
Step 3. Now, click the video camera record button to start recording your webcam video.
Tips. You can pause and resume the recording to record only what’s important.
Step 4. When the recording is over, click the red square in the circular record button to stop the recording.
Step 5. Click the thumbnail in the bottom right corner of the screen to watch your recording.


Video Recording on Windows 10 is an easy job with the many video recording software. Even better, Windows 10 offers built-in apps to help you capture screen videos within an app or from the webcam. The Xbox Game Bar and Camera apps are available on Windows 10 completely for free. But if you want to record video on Windows 10 with more features, WonderFox HD Video Converter Factory Pro is the better option.
Now, that’s all I want to share about how to record a video on Windows 10. I hope you will find the methods helpful. Thanks for reading. Have a nice day!
Terms and Conditions | Privacy Policy | License Agreement | Copyright © 2009-2025 WonderFox Soft, Inc.All Rights Reserved